A friend of mine on Facebook is a wonderful but new photographer. She asked me for some tips for someone who is just starting out.
Now, keep in mind, I'm no Ansel Adams. I too still have a lot to learn and am constantly inspired and educated by better photographers. I am just offering what I know and trying to put it together in an easy to understand fashion. A lot of people have consumer grade DSLRs these days but never venture out of the automatic modes (the green box, the running man, the flower, the star). The first time you spin that dial to the "M", you will likely be overwhelmed. I know I was. My first images were dark, blurry, and flat out BAD. Slowly but surely, things started to click, and now I shoot every session in full manual.
________________________________________________________
Bre Thurston Photography - Intro to ISO, Shutter Speed, and Aperture
Before we begin, I suggest busting out your camera's manual so that you know how to adjust the settings, which buttons are which, etc. Keep in mind that these tips are aimed at folks with DSLR's. I only know Canon, but this info should apply to all brands.
There are 3 components that play into a proper exposure- ISO, shutter speed, and aperture. All 3 affect your light and overall lightness/darkness of image. Beyond that, they all do other things as well (as if it weren't complicated enough!) I'll get into that at the end.
Let's imagine that it's a super sunny day in the middle of the afternoon and you're shooting outside in direct sun. Here is an example of what your settings might be
ISO: 100
Shutter speed: 1/2000
Aperture: f/16
Now, say it's dusk and the sun is just going down. You have some natural light, but not direct light.
ISO: 800 or 400
Shutter speed: 1/160
Aperture: f/6
Okay, now you're inside, it's dark, and you're working with only artificial light. You are NOT using your flash.
ISO: 1600
Shutter speed: 1/60
Aperture: f/3.5
100 ISO <---used for brightest conditions | used for darkest conditions ----> 1600 ISO+
Shutter speed 1/2000+ <---- used for brightest conditions or fast moving subjects | used for darkest conditions ----> Shutter speed 1/60 (and lower)
Aperture f/16+ <---- used for brightest conditions | used for low light conditions ----> f/3.5 (and lower, if allowable by your lens)
Your goal is to find the correct mix of the 3 to make a proper exposure.
Put your camera in manual mode. Look through the viewfinder and press your shutter half-way. You will see a little bar at the bottom with a range from -2 ---0----2. You should see a little ticker somewhere on the scale. This is your camera's meter. It will help you find the proper exposure. Your camera has deemed your exposure correct when the little ticker is directly above the 0 (zero). Adjust your shutter speed, aperture, or ISO (or a mix of the three) until you get your ticker over that 0.
BUT, it's not quite that easy. You will start running into problems as you experiment with your settings. Here are a few things to keep in mind.
* The higher your ISO, the more grain you will see in your photo. In general, you want to stay away from 1600 ISO if at all possible. This ISO produces a very noisy, grainy image and will require expensive noise reduction software to correct in Photoshop. You will see grain in 800 ISO as well, but it's still usable most of the time. Ideal ISO on your camera will be 100, 200 or 400. Keep that in mind. Try to stay under 800 if at all possible, but throw it into 800 if you must.
* The lower your shutter speed, the more risk you run of camera shake or blur. If you have a steady hand and take a deep breath before you snap your photo, you can get a crisp image as low as 1/15 or 1/30, but your object must be stationary. In general, try to stay above 1/90. If you're shooting a running dog for example, you will probably want to be at 1/500 and above. There is nothing wrong with a fast shutter speed. I generally stay in the 1/160 range.
* Aperture is what affects your depth of field, as well as your light. If you are shooting a landscape and want everything in the frame to be in focus and clear, shoot with a high aperture, like f/11 and above. If you are shooting a portrait or a flower where you want the background to blur, get down to the lowest aperture possible. If you have the lens that came with your camera, that should be f/3.5, but only when you are not zoomed in. When you zoom in, your aperture won't allow you to go below f/4.5 or f/5. Being that I am a portrait photographer, when shooting a single subject, I shoot with lenses with apertures as low as f/1.8 or f/2.8. It's how I get that pretty blurred background.
Be cautious with wide (aka low number) apertures. The lower you are, the more likely you are to focus incorrectly. Say you are shooting a group of 4 people. If one person is standing slightly in front of the others, the focus will likely fall on them and them only and then the other people will not be in focus.
___________________________________________________________
I welcome anyone and everyone to ask me questions. I love talking about photography and sharing what I know. Feel free to post comments here or email me at photosbybre@yahoo.com There is so much more than what I've written above that will play into nice, pleasing images. There is only so much you should try to learn at once, so I'll leave it at this for now.
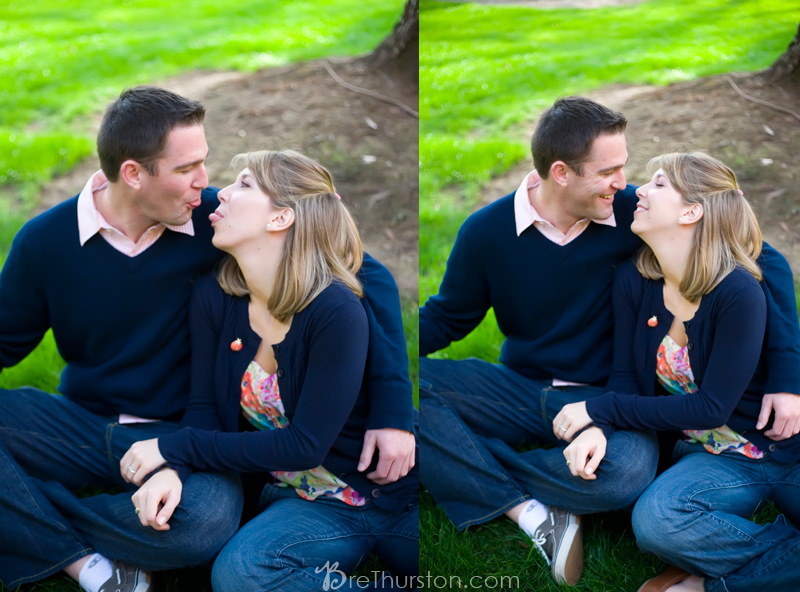
Just for kicks, here is one of my very first images in manual mode. Just a tad dark, ya think? ;) If I remember correctly, I forgot to adjust my ISO! Don't be discouraged if you get images like this your first time out. It's part of the process!


